Skip to content


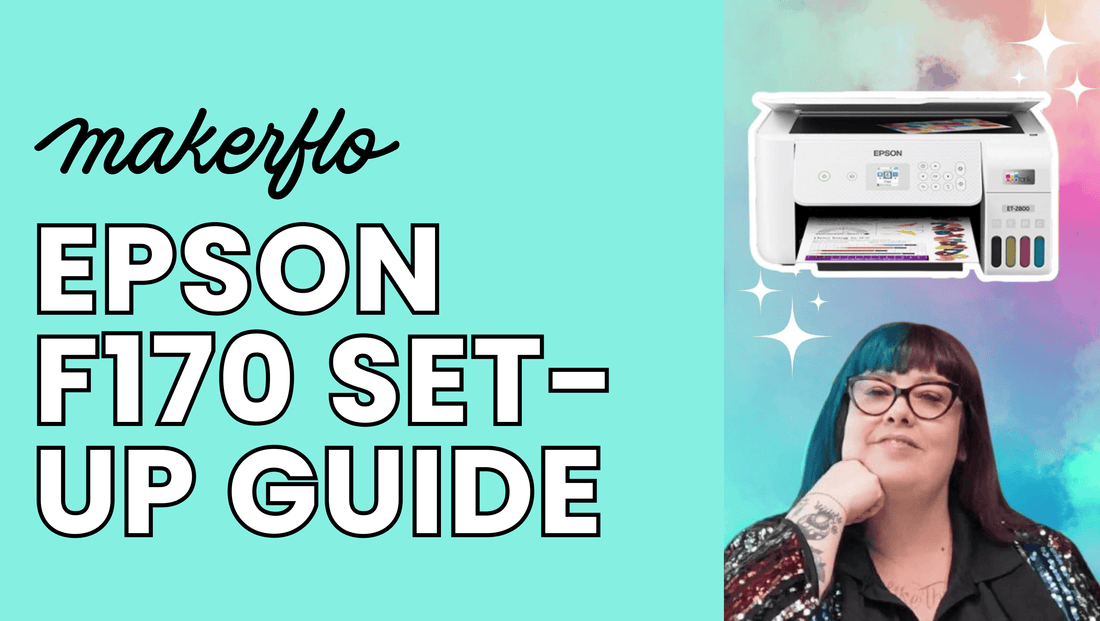

Hi 👋 and welcome to this in-depth Epson SureColor F170 set up guide!
I'm Sam, and I'm excited to show you how to set up your Epson SC F170 Dye Sub Printer from MakerFlo to get you sublimating tumblers and blanks in no time. MakerFlo customers can also contact customer support if you need additional assistance setting up your Epson sublimation printer from MakerFlo.

By the end of this guide, you'll be all set up and sublimating tumblers and more, like a pro.
Let's do it 💁♀️🖨️✨
🛒 Order Your Epson F170 Today
In Stock & Ships Today!
✓ Free Shipping ✓ 1 Year Warranty ✓ Expert Support
Unboxing & Set Up
First, let's unbox the Epson SureColor F170 sublimation printer (this is how it comes when you buy the Epson F170 from MakerFlo).
Pro Tip: When you open the box, make sure to cut away from yourself with your knife, not towards yourself.

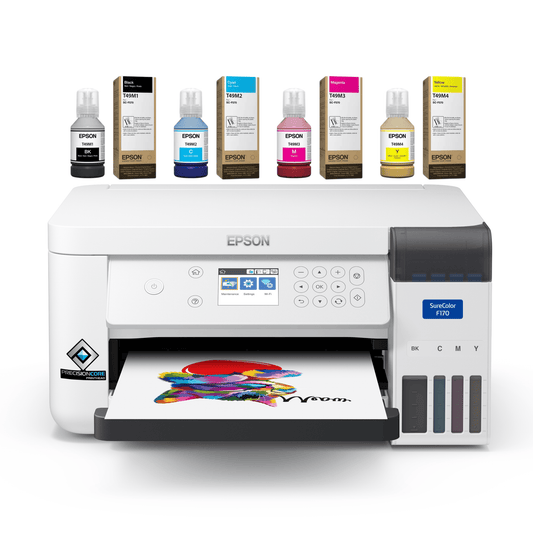
What's Inside the Box
Inside the box, you'll find:
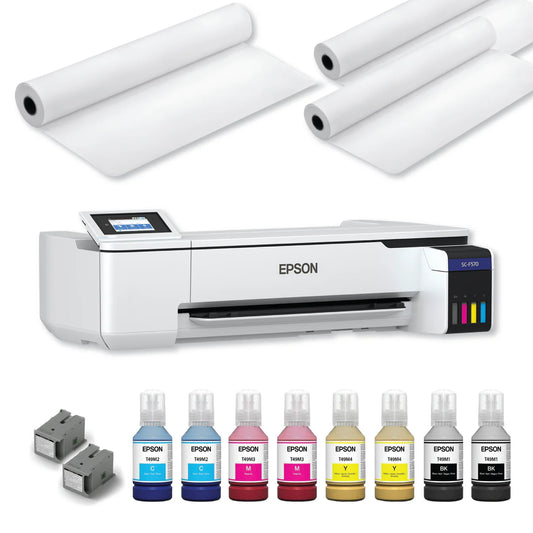
- A pack of MakerFlo sublimation paper. The printer comes with our standard letter size (8.5" x 11") included free. But MakerFlo sublimation paper comes in other sizes of sheets and rolls, if you'd like to purchase more.

- Instructions and set up manual. Be sure to put that to the side.

- Sublimation ink. Cut the little piece of tape off the box to open it. You'll find yellow, magenta, cyan, and black each in individual packaging.

- The power cord. But, don't plug it in just yet.

- The printer. Gently remove the plastic packaging and tape from the printer. Make sure to check all sides so you can remove all of it.

Step 1: Adding the Sublimation Ink
Now, it's time to add the sublimation ink.
First, lift up the ink covers to find the slot for each color. You can see which color goes in which slot. (Each bottle will only fit in its designated spot.)

Start with the black one first. You'll see on the label that they ask you to shake each ink bottle 15 times before use. So give each bottle a good shake, then, remove the top and put it into the slot for black ink.

Let the ink fill up the tank without squeezing the bottle. This takes a little bit of time!
You can see the little fill lines on the front of the ink tanks.

Repeat this process with the yellow, magenta, and cyan inks. Now you're ready to plug in the printer and get it ready to print!

Buy the Epson F170
MakerFlo is an authorized Epson dealer with the best prices:
✓ Authorized Dealer ✓ Best Price Guarantee ✓ Expert Support
Step 2: Initializing the Printer
Now that the inks are filled, close the ink tank and the top cover of the printer.
Connect the power cord to the back of the printer.

Note: You don't need to connect your computer to your printer because it prints wirelessly over a Wi-Fi connection, but if you can't get a strong or consistent Wi-Fi signal, you can use a USB 2.0 or Ethernet cord to connect it to your computer.
Now, turn on the printer by holding down the power button for several seconds.

Once it's on, select your language using the up and down arrows. Press OK.

The printer will take a few moments to initialize. Then, it'll ask you to look at the "Start Here" sheet that comes with the printer. Press OK.
Hold the question mark button down for several seconds, then press OK to begin charging the ink. (This process takes about 14 minutes.)
While the ink is charging, do not unplug the printer, open the cover, or interrupt the process in any way. Once that's completed, you can press OK to go to the next step.
You will notice that the ink levels will be lower than what you filled! Don't worry, the inks are just in the printer lines and have not been used yet.
Step 3: Loading the Sublimation Paper
Now it's time to add paper. At this step, you'll see a screen that lets you adjust the settings for best quality. Press OK to continue with the recommended settings.
Next, open the paper tray and move the blue paper width guide so it fits a letter-sized piece of paper (8.5" x 11").

Put your MakerFlo Sublimation Paper into the tray, making sure the printable side is faces down and the MakerFlo watermark side is face up. Close the tray and press OK.

Step 4: Running Your First Test Print & Nozzle Check
Your first print will be a nozzle check pattern to verify the print head is working correctly.

Examine the pattern and lines. They should be completely solid and match the image you see on the printer's screen. If they don't look right, run a cleaning cycle. If they look like they should, press OK.
Next, the printer will print a vertical line pattern.

Pick the most even-looking square, making sure it's filled in.
Use the printer's plus and minus buttons to choose the number of that square, then press OK.
Next, the printer will print out a horizontal line pattern. Find the one that shows two matching gray lines with no white space or overlap.

Again, use the plus and minus buttons to choose the number of that pattern and press OK.
Once you finish this, your printer will be initialized and ready to print.
Step 5: Just One More Step, Install the Epson Driver
One last step you do not want to miss, and that's installing the Epson driver to make sure your colors print out correctly. We will do that in the next section.
Watch Our Printer Set Up Video Tutorial
If you want to see this entire process in action, watch us walk you through each step, from unboxing to setting up the printer, in the video below 👇
Installing the Printer Driver
Now, let's install the printer driver for your Epson SureColor F170.
A quick note before we begin: The Epson SureColor F170 works with computers only. Our customers often ask if it works with a mobile device like a smartphone or tablet, and the answer is no, it does not.
To install, click the link below to open the install page in a new tab:
>> Download the Epson SureColor F170 Printer Driver <<
The website should automatically detect your operating system, but if it doesn't, select your operating system from the drop-down list and click "Go."

Next, click on "Drivers" and download the Drivers and Utility Combo Package.

Open that file and follow the instructions on your screen to install it.

Once it's been installed, a window will pop up asking you to select your language. Choose one and click "Next."

Then, read through the terms and agree to them.

After this, you will have the option to install a link to the user's guide. Let the installer finish downloading all the drivers and utilities.

Now, make sure your printer is turned on and click "Next" to proceed.

Make sure your ink tanks are filled and that you've charged the ink (as we explained in our printer initialization section above). If everything is ready, check the box and click "Next."

Now you should see your new printer on the screen. Select it and click "Next."

This part takes a little bit of time.

Once it's done, you have the choice to register your product and we recommend you do!

Registering your printer: If you bought your Epson F170 from MakerFlo, select "Distributor/Reseller" for your place of purchase.

Congratulations! Your printer is now set up and ready to use.

You can go to "Printers and Scanners" to double-check that your computer recognizes your new Epson printer. It should be labeled as SC-F100.
How to Install the Printer Driver Video Tutorial
If you want to see how we installed the printer driver, watch this video tutorial to see the entire process in action 📹✨
🥇Congratulations: Your Printer Is Now Set Up!
What's next?
- Shop MakerFlo Sublimation Blanks
- Get Started: How to Sublimate a 20oz Skinny
- Download Free Sublimation Design Templates
- Visit our Sublimation Hub for Free Tools & Resources
- Grow Your Maker Business with MakerFlo Pro
Be sure to join our customer Maker community on Facebook to stay up with the latest trends in sublimation and share with others.