Skip to content


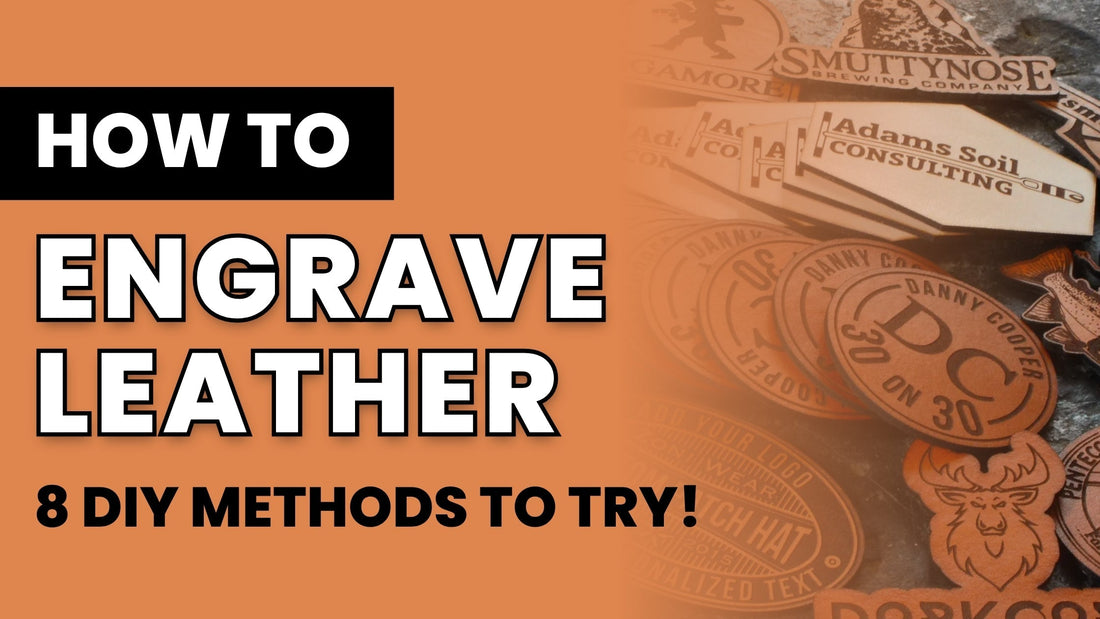

When you know how to engrave, the opportunities are seriously endless. You can engrave tons of different materials (including metal and wood!), opening the door to even more amazing products to showcase and sell. One of my favorite materials to work with is leather because you can stamp, engrave, and carve beautiful designs, regardless of whether they're pre-drawn or personalized.
Ahead, you can learn everything you need to know about engraving leather, including some of the best DIY methods to try at home. From hand engraving to using a Cricut, you'll be surprised by all of the amazing things you can do!
Note: This post contains affiliate links, which means that we may receive a commission if you make a purchase using third-party links.
Method #1: Laser Engraving

Image Source: Etsy
Laser engraving is a tried-and-true method for many different materials and items, like tumblers, plywood, and glassware. It's my favorite way to engrave!
Why choose this method: It's easy to get great-looking designs — once you pick your leather and design, you'll choose your machine settings, and let the laser do its magic! You can produce intricate designs with absolute precision because the machine is working from the same digital image each time.
Downsides: You'll need to figure out the material settings for your piece of leather, which may take trial and error, but once you figure it out, you're good to go!
What you need for laser engraving
- A laser engraving machine
- A design file in SVG, AI, or other vector format
- A computer with design or laser engraving software
- Safety equipment (think eye protection and a ventilation system for the machine)
- Blank leather
How to do it
- Pick your leather type (full grain, top grain, synthetic, or faux). You'll want to prepare it by cleaning and moisturizing it without fully submerging the material.
- Once you choose your design, pick your laser settings, like power, speed, and focus. Make sure to test them out before moving onto your final product.
- Engrave the leather!
- Clean the leather one more time with a soft cloth to remove any residue. You'll also want to seal the engraving using a protective leather sealer.
Learn more about laser engraving
Check out our guide on laser engraving for beginners, find the best laser engravers for beginners, plus some ideas for engraving leather!
Method #2: Engraving by Hand

Image Source: Etsy
Hand-engraving leather can be more of a tedious process, but the end product is absolutely beautiful. Using stamps, chisels, or bruins, it can take some time to practice and feel comfortable doing it, but can be great for more detail-oriented designs.
Why choose this method: It's a traditional method of engraving. If you like taking your time to make things by hand, you might like this method.
Downsides: It can take a lot of time and patience as you learn how to perfect your craft.
What you need for hand engraving
- Blank leather
- Tools like swivel knives, carving chisels, pear shaders, and bevel stamps
How to do it
- Once you've picked, cleaned, and moisturized your leather, transfer your design using a template. You can use a stamp or trace it with a pencil.
- Carefully begin engraving your design using the tools that feel best for you.
Learn more about hand engraving
This is a bit of a niche skill, so if you eventually feel comfortable enough to sell hand-engraved products, you can learn more about starting a profitable craft business.
Method #3: Cricut Engraving

Cricut machines are always popular, and for good reason! They're super handy for making personalized items, including leather gifts and goods.
Why choose this method: It's similar to laser engraving, which means the machine is doing most of the heavy lifting for you. It'll carve your design with utmost accuracy, and you can even check out the online library for customizable projects.
Downsides: You'll have to purchase a Cricut machine. They're less expensive than laser engravers, but you'll also have to buy additional tools and materials.
What you need for Cricut engraving
- Blank leather
- A Cricut machine
- Cricut tips, like the engraving and debossing ones
- Cricut knife blade for cutting leather
How to do it
- Once you've picked, cleaned, and moisturized your leather, you'll get your design ready in Cricut Design Space, the machine's free software.
- Load your Cricut using the correct tool, place the leather on the mat, and make sure the rest of your settings are good to go.
- Click 'go' to begin the engraving process.
Method #4: Power Tool Engraving

Image Source: Dremel
Another way to engrave leather is using a power tool, like a dremel. Dremels are basically rotary tools with different tips to create more depth and details in your design. Think hand engraving, but faster and more powerful.
Why choose this method: If you have experience using power tools, this will have less of a learning curve than hand engraving. It's a faster way to create beautiful, detail-oriented products.
Downsides: You'll need to buy a dremel and the right attachments if they don't come with it. Additionally, if you're not familiar with using one, it'll require a bit of practice to get comfortable with the tool.
What you need for power tool engraving
- Blank leather
- A dremel and attachments
- Stencils, templates, or guides for your design
How to do it
- Once you've picked, cleaned, and moisturized your leather, transfer your design. You can do this using a stamp or trace a stencil or template with a pencil.
- Working in small sections, use the different attachments to engrave parts of your design. You'll likely end up using different speeds, tips, and pressures for each section.
- Clean the leather to remove any debris. You may also want to treat the edges of your design using a cutting accessory or a polishing tool.
Method #5: Pyrography Pens

Image Source: Etsy
Pyrography pens are also known as wood-burning pens. This method is a cross between hand and power tool engraving since you're still going over each individual detail, but you're using a heated tool to slowly and carefully burn your design into the leather.
Why choose this method: Should you already know a thing or two about wood burning, you'll be pretty good to go on this DIY method. Pyrography pens also allow for more control over engraving details, and there are different tips you can try out for certain effects.
Downsides: You have to buy a pyrography pen and maybe even tips or accessories. It can be a more beginner-friendly method, but it'll still require time and patience as you learn how to properly carve into leather.
What you need for pyrography pen engraving
- Blank and undyed, vegetable-tanned leather
- A pyrography pen (along with different tips if you plan on trying it)
- Stencils, templates, or guides for your design
How to do it
- Transfer your design using a stamp or stencil. You'll want to make sure you're using undyed, vegetable-tanned leather since burning regular leather can release harmful chemicals.
- Test your heat settings and tips on a spare piece of material. Once you have a handle on that, you can move onto your final design. Ensure that you're engraving consistently to prevent any splotches of burned leather.
- After letting the leather completely cool, you can add leather dyes or paints for additional details. Finally, seal it with a protectant.
Method #6: Burning Paste

Image Source: Amazon
Burning paste (otherwise known as torch paste) is a heat-activated paste typically used for wood burning, similar to pyrography pens. You can use this method to engrave leather, too, though.
Why choose this method: It's an awesome way to create depth, details, and texture in your design.
Downsides: It can be a bit of a tedious process with quite a few steps to ensure your design comes out the way you intended. You also need to know how to use a heat gun or pyrography pen.
What you need for burning paste engraving
- Blank and undyed, vegetable-tanned leather
- Burning paste, like Torch Paste
- A squeegee
- A heat gun or pyrography pen
- A stamp, stencils, or templates for your design
How to do it
- Trace your design using your preferred method to a piece of blank, undyed, vegetable-tanned leather. Since you're applying heat to the leather, you want to make sure you're not releasing harmful chemicals as you burn it.
- Apply the paste directly to the leather. You can use a squeegee to make sure it goes on in an even layer, then remove any excess.
- With a heat gun or pyrography pen, go over the areas where the burn paste was applied. Make sure you're not staying in one area for too long to avoid burnt splotches.
- Once you're finished, clean the area to get rid of any extra burn paste or debris. Seal it with a protectant.
Method #7: Leather Stamping

Image Source: Etsy
Leather stamping is exactly what the name implies. You use a metal stamp to imprint your design on the leather, then a mallet to make sure it's firmly pressed in.
Why choose this method: It's similar to embossing, which may be a slightly easier method for beginners. Plus, you don't have to spend too much money on supplies to get started.
Downsides: Using a mallet can be intimidating for some. This is also less of an engraving method, so you'll want to make sure you're really impressing your design onto the leather.
What you need for leather stamping
- Blank leather
- A metal stamp
- A mallet
- A sturdy surface to place the leather on top of as you strike the mallet
How to do it
- Choose your stamp. You can purchase ones with premade designs or create your own.
- Prep the leather by cleaning and moisturizing it. Secure it on a durable surface, like a granite slab, and secure it with clamps.
- Position and place the stamp down onto your leather. Once you feel good about it, you'll start using your mallet to strike the metal stamp until it's imprinted into the leather.
- You can add color using leather paints and dyes for even more detail and depth.
Method #8: Hot Stamping & Foiling

Image Source: Etsy
Hot stamping combines a few of the above methods since it uses heat and pressure to create your design. You can also use foils to really make it pop, especially if you're engraving a logo or name.
Why choose this method: It's a great way to personalize notebooks, planners, books, and more with a person's name, initials, or logo.
Downsides: The right temperature depends on the type of leather you're using, and you'll need to adjust your pressure based on how intricate your design is.
What you need for hot stamping and foiling
- Blank leather
- A heat imprinter (like a hot stamping machine or a soldering iron)
- A metal stamp
- Foils, if you desire that effect
How to do it
- Once you've picked, cleaned, and moisturized your leather, pick your stamp. Place it directly on the leather.
- Use the heat imprinter of your choice to apply heat and pressure to the stamp with even distribution.
- If you're using foil, this is when you'd gently place it over the design with the colored side facing you.
- Apply heat and pressure to the stamp one more time so the foil transfers to the design.
- Remove the leather from the imprinter and let it cool before clearing it of any excess debris.
Final Thoughts
Now that you've learned about different leather engraving methods, it's time to pick the one that you want to try!
I personally find laser engraving to be the best choice for business owners and makers who want a lot of accuracy in their design.
The xTool F1 is one of the best starter machines because of its compact size and price point, but the xTool F1 Ultra is another great choice for bulk engraving, too.
See more of the best laser engravers for beginners reviewed by other makers here!
Frequently Asked Questions
Can you engrave leather at home?
Yes! With the right equipment and safety precautions, any of these methods can be done right at home. Just make sure you've practiced enough and feel comfortable handling the tools before diving in.
Is it better to engrave or emboss leather?
It really depends on what effect you're going for. Engraving leather will etch or burn a design into a piece of leather, while embossing will offer a 3D "stamped on" look. Embossing is great for texture, too.
Should you wet leather before engraving?
You shouldn't completely saturate your leather before engraving, but you should clean it and then wipe it with a microfiber cloth. Before using any tools, lasers, or cutters, your leather should be completely dry.
More Resources For You
Here are some more awesome resources on engraving!
- How to Engrave Wood
- 25 Genius Leather Laser Engraving Ideas
- 127+ Unique Laser Engraving & Cutting Ideas Your Customers Will Love
Also, don't forget to join our MakerFlo Makers Community on Facebook, and follow us on Instagram, TikTok, and YouTube!