Skip to content


Learning how to laser engrave metal can be a game-changer for your business! While it does require special equipment, once you have everything you need, it can open the door to new product lines for your customers.
Regardless of whether you offer personalization or keep it simple with premade designs and templates, laser-engraved metal results in some truly beautiful work!
Looking to learn more about laser engraving metal? Look no further than our guide, which includes everything you need to know to get started. Keep reading to find our recommendations for the best laser engravers, my top tips and tricks, and more!
What's Inside:
- How Does Metal Laser Engraving Work?
- Which Types of Metal Engraving Are Best?
- How to Engrave Metal With a Laser Engraver
- What You Need to Engrave Metal at Home
Note: This post contains affiliate links, which means that we may receive a commission if you make a purchase using third-party links.
How Does Metal Laser Engraving Work?
If you're familiar with laser engraving wood, you'll be happy to know that it's a relatively similar process. No worries if you're not, though -- it's not difficult to understand, especially as you start learning the process.
Metal laser engraving is sort of what the name implies. When you're using an engraving machine, the laser burns away the metal, resulting in an engraved mark. Lasers offer permanent and precise detailing so you can engrave everything from lines of text and calligraphy to detailed pictures.
Types of Metal Laser Engraving
Here are all the different types of metal laser engraving to know.
- Surface Engraving: This is when the laser removes a thin layer of material, creating a permanent but subtle engraving.
- Deep Engraving: The laser repeatedly passes over the metal so it cuts deeper, resulting in a more intense look.
- Laser Marking (aka Annealing): This is when the metal is heated without removing any material. Instead of a clear engraving, you'll get a high-contrast black mark that's typically used on materials like stainless steel and titanium. This is more common with fiber lasers.
- Etching: A light engraving mark that creates a frosted or textured look.
- Ablation: When you're working with coated metals (think anodized aluminum or painted surfaces), the laser removes the top layer to reveal the base metal underneath.
- Polishing: The laser lightly melts the surface, creating a more subtle marking and a glossy or reflective effect.
- Color Marking: Some lasers (such as MOPA fiber lasers) can create colored engravings on certain metals by altering the oxide layer.
Which Types of Metal Engraving Are Best?
Yes, there are many types of engraving. But there are 3 top methods we recommend for everyday projects. They are:
#1 - Ablation on a Powder-Coated Laser Blank
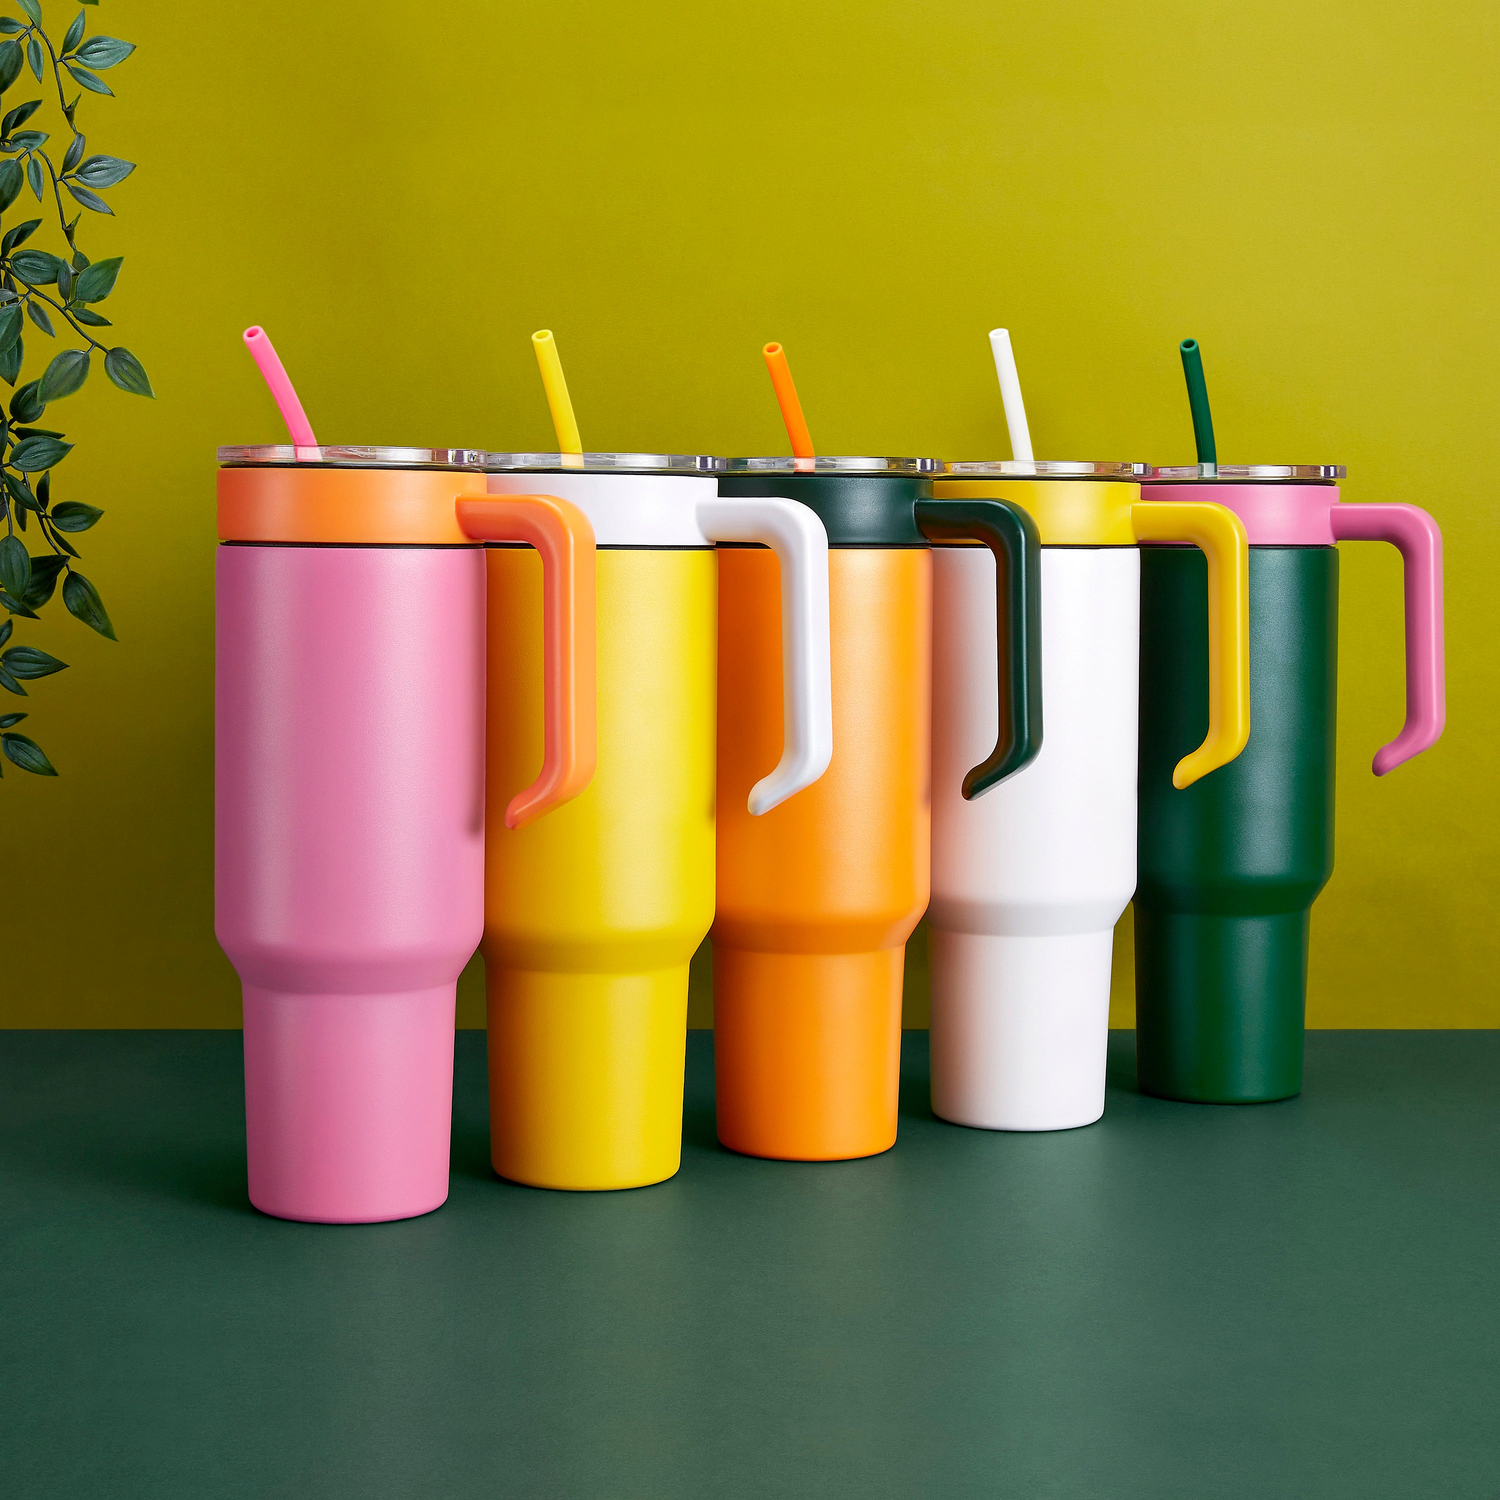
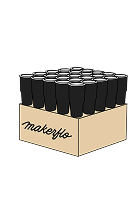
This isn't the same as engraving into the metal, but you can create the same stunning designs on metal items by engraving away the powder coating. Check out our powder-coated tumblers for an example of what you can customize. This is doable with an entry-level diode laser like the crowd favorite xTool F1.
My Best Tips for Engraving a Powder-Coated Tumbler
- Use a 2.0- or 2.5-inch lens for sharper details.
- Run your settings at high speed and medium-to-high power to avoid burning.
- Use 250 to 400 DPI to have less residue.
- Try to run it on a single strong pass instead of multiple weak passes -- this will create better and crisper edges.
- Different colored tumblers may require different engraving power settings. For example, blues can be more difficult to engrave because of the color markup and density. Make sure you test the settings per color, especially if you're working with rainbow or electroplated gold, since they're especially finicky.
- After you're done engraving your tumbler, spray it with LA Awesome and wipe with a microfiber cloth to clean any residue off.
- A smoke stain remover is great for light colored tumblers.
#2 - Laser Marking with Cermark
Simply spray the Cermark coating onto your metal item, and engrave it with a laser like the xTool F1. It'll create a lasting black mark in the shape of your design. Like ablation, this method works with many different types of laser engravers.
I recommend using CerMark LMM 14. It comes in either an aerosol spray can or a liquid bottle. It can be a bit pricey and time-consuming, but it's a great option that's super effective.
#3 - Engraving Directly Into Metal
If you're ready to invest in a fiber laser like the xTool F1 Ultra, you can use it to engrave directly into metal. The settings you'll need will depend on the type of metal you choose. We've got a guide to laser engraving stainless steel if you want to dive into the topic.
How to Engrave Metal with a Laser Engraver
Once you have your material and laser engraver ready to go, it's time to start practicing! It may take you some time to feel confident in your laser engraving abilities, but that's okay. Like any craft or skill, practice makes perfect.
Here's how it works:
- Clean the metal blank. Regardless of what material or item you're engraving, you'll want to make sure it's free from any dust, grease, or fingerprints.
- Place it in your engraver. Your engraver will have a designated area for your item. If you're engraving something rounded like a tumbler, you'll need a rotary attachment.
- Pick your settings. You can customize specific settings on your engraver, like the quality, depth, and darkness. Every laser is different, and there are even different styles of laser engraving, like I talked about above. Make sure to familiarize yourself with your machine before trying it out, so you can learn more about any recommended settings.
- Engrave. Once you've chosen all your settings and your item is firmly in place, it's time to start engraving! Click the button and watch as the machine does its thing.
- Clean the item once more. Now that you're finished, you'll want to carefully clean your newly engraved item one more time. This is to ensure no leftover residue or debris accidentally seeps into the design!
Like I said, it'll take some time to feel 100% confident with your laser engraver, especially if you've never done it before. Don't let that discourage you, though -- it's such a fun activity that can expand your business with ease!
What You Need to Engrave Metal at Home
There are a few key items you need to engrave metal from home. Here's what I recommend:
- Laser Engraver: Of course, you'll need an engraver that can laser designs onto metal. Fiber lasers are the best for engraving directly into metal -- I love xTool models, and the F1 Ultra is a great machine for engraving metals. But for harder metals, you'll want a higher-powered fiber laser.
- Metal Item for Engraving: Frequently referred to as a laser engraving blank, you'll also need an item to engrave! The opportunities are seriously endless here, but some shapes or sizes may be easier for beginners than seasoned engravers. Some ideas include knives, powder-coated tumblers, pet tags, flasks, and stainless steel tumblers.
Snag 10% off your order of powder-coated tumblers with our Build-a-Bundle Offer!
More Resources For You
If you're ready to get started on your metal laser engraving journey, we have even more awesome resources! Check out more articles below:
- 39+ Laser Engraving Gift Ideas to Make for Any Occasion
- Most Profitable Laser Engraved Products
- Laser Engraving Stainless Steel: How to Get the Best Results!
Don't forget to join our MakerFlo Makers Community to connect with other makers! You can also join our mailing list below and follow us on Instagram, YouTube, and TikTok.